
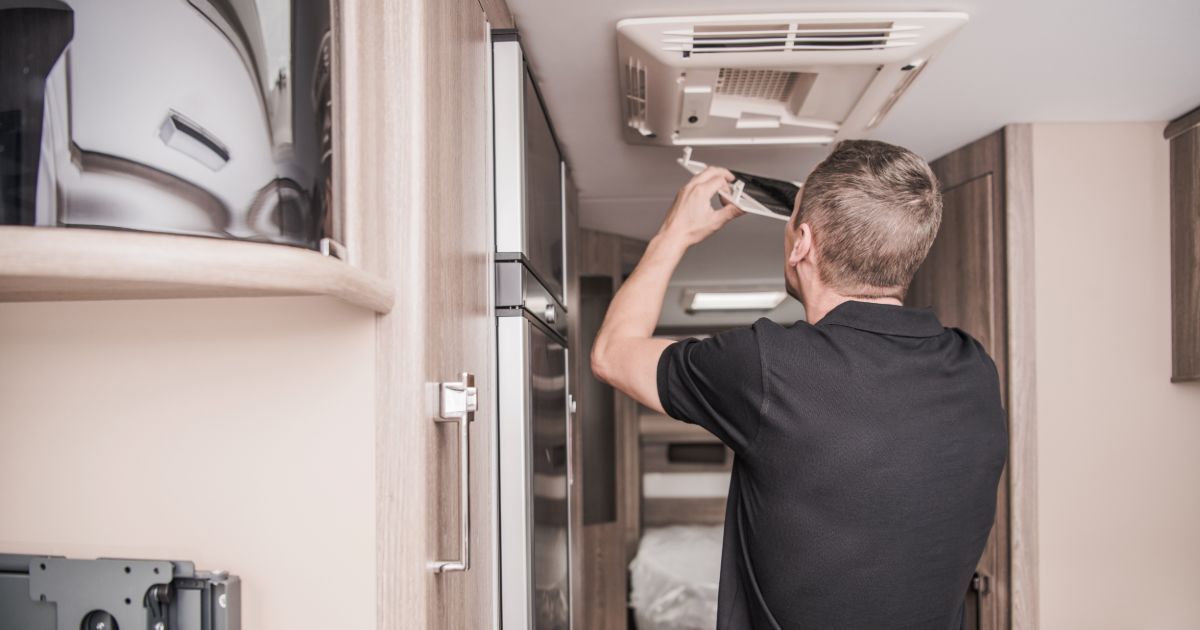
Most motorhome owners know the drill. You notice a damp patch on the ceiling, or a seal that’s clearly had it, and your first thought is to ring a specialist. But honestly, a lot of these jobs don’t need one. They need a free afternoon, some basic tools and a willingness to have a go.
The truth is, plenty of common motorhome faults are well within DIY territory. Even if you’ve never touched a sealant gun before, you can handle more than you’d think. Here’s what you can fix yourself and how much of a headache each one actually is.
Resealing Joints and Roof Edges
Difficulty: Easy
Tools: Sealant gun, Sikaflex or equivalent, masking tape, white spirit
Sealant failure is probably the most common motorhome problem going. Those rubber or silicone strips along the roof edges, window frames and body panel joints break down over time. Once they crack, water finds a way in, and if you leave it, you’ll end up with damp.
Fixing it is dead simple. Scrape out the old sealant with a plastic scraper (don’t use a metal one or you’ll scratch the bodywork), clean everything up with white spirit, and run fresh sealant along the joint. Sikaflex 512 is a go-to for a lot of motorhome owners because it stays flexible and bonds well to most surfaces. If you mask either side of the joint with tape before you start, you’ll get a clean line that looks professional.
It’s worth checking your seals at least once a year, ideally before winter rolls around. A tube of sealant costs next to nothing compared to dealing with water damage down the line.
Cracked Interior Trim and Panels
Difficulty: Easy
Tools: Plastic adhesive, clamps, replacement trim clips
Interior trim gets hammered over time. Dashboard panels crack from years of sun exposure, cupboard catches snap, and the clips behind wall panels work themselves loose after thousands of miles of vibration. None of it needs a workshop visit.
If you’ve got a crack in a plastic trim piece, a two-part plastic adhesive will bond it back together. Clamp it overnight and it’ll hold fine. For panels that have come loose, the fix is usually just a fresh set of trim clips. They’re cheap and easy to find from motorhome accessory suppliers. You pop the old ones out, press the new ones in, and the panel clicks right back into place.
How to Replace Yellowed or Cracked Roof Lights?
Difficulty: Moderate
Tools: Jigsaw or circular saw, drill, sealant, measuring tape
Roof lights and side windows cop the worst of the UV exposure year-round. Over time the plastic yellows, goes brittle and can crack. And a cracked roof light doesn’t just let rain in. If moisture sits in the frame long enough, it’ll weaken the surrounding structure too.
Replacing one takes a bit more effort than resealing a joint, but you can still do it at home. Start by removing the old panel. Unscrew the frame from inside and carefully lift the whole thing out. Clean up the aperture, check for any signs of damp around the edges, and measure up for your replacement. A lot of owners go with clear polycarbonate sheets cut to size, since polycarbonate has over 200 times the impact resistance of glass and won’t yellow the way acrylic does. Cut it to fit, drill your screw holes, bed it in sealant and fix the frame back down.
Damp and Delamination: What You Can Fix Yourself
Difficulty: Moderate to Hard
Tools: Damp meter, dehumidifier, timber hardener, filler, sealant
Damp is the one repair every motorhome owner dreads, but catching it early is everything. Small patches that you spot quickly? Totally a DIY fix. Large-scale delamination? That’s a different story.
Get yourself a damp meter and check the walls, floor edges and around every window at least twice a year. If you pick up a reading, track down where the water’s coming in. Nine times out of ten it’ll be a failed seal. Fix the entry point first, then let the area dry out completely. Running a small dehumidifier inside the van for a few days will speed things up. Once it’s dry, treat any soft timber with wood hardener, fill the gaps and reseal.
With delamination, if the affected area is small, you can sometimes get away with injecting adhesive behind the skin and clamping it back. Anything bigger than that and you’ll want a specialist to take a look at the panel.
Know When to Call In Help
Not every repair belongs on a DIY list. Anything involving gas systems, major structural damage or large-scale water ingress should go to a qualified technician. But for the everyday wear-and-tear stuff, there’s genuine satisfaction in sorting it yourself.
You’ll save money, you’ll get to know your van inside out, you’ll have the confidence to tackle bigger jobs later on, and you won’t be sat in a workshop queue for weeks on end. Most of these jobs will take a morning at most, and the more you do, the easier they get.
RELATED POST: Outdoor Lighting Ideas to Boost Safety and Property Appeal